Custom Tissue Paper Samples and Print Proof Checks
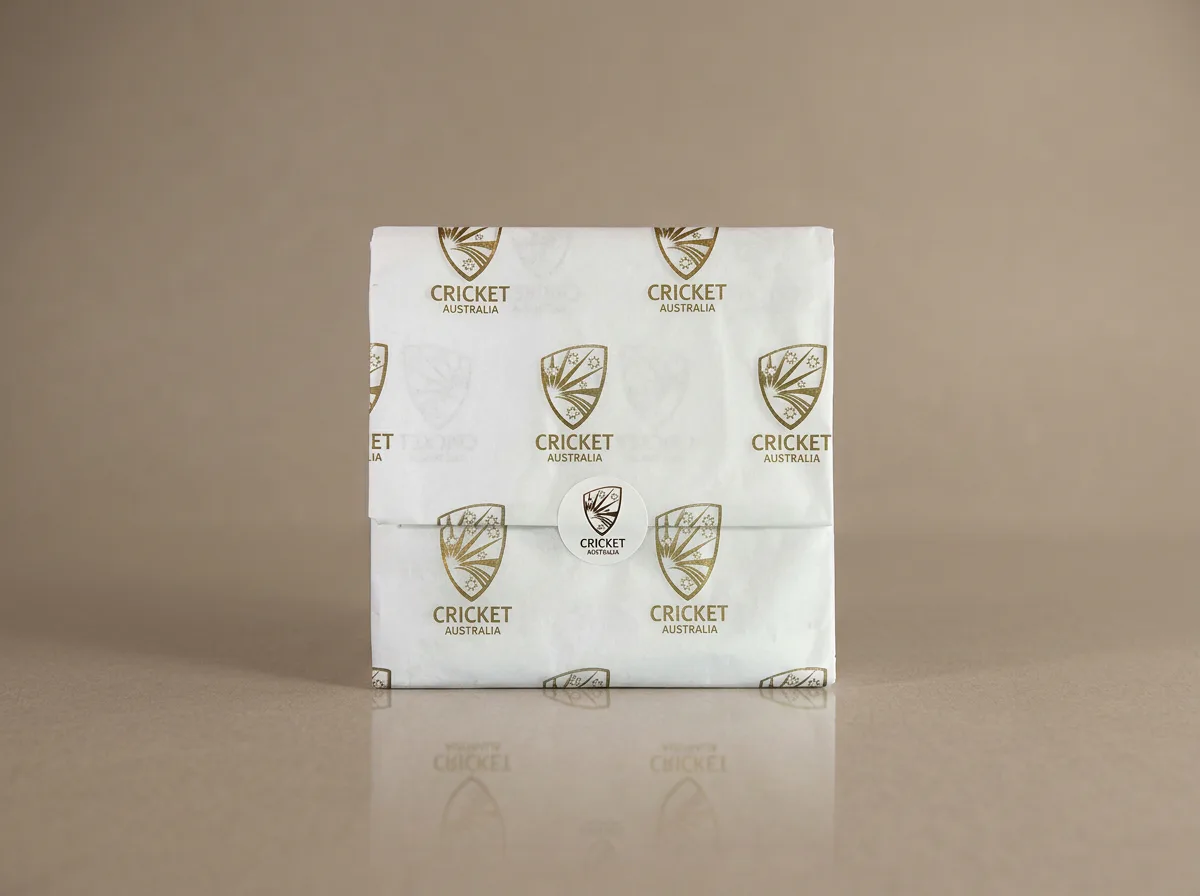
Before approving custom printed tissue paper, check two things separately: whether the paper works around your product, and whether the artwork is correct for production. A sample pack helps with the first question. An artwork proof helps with the second. Neither should be assumed to answer everything.
This distinction matters when a logo looks excellent on a large screen but disappears into the folds of a jewellery box, or a sheet that feels substantial in the hand becomes awkward to tuck into a small retail bag.
What does each type of sample actually show?
A sample pack lets you handle examples of existing printed tissue. Use it to compare feel, translucency, folding and the appearance of different print treatments. Big Tissue's sample pack contains existing 17gsm and 30gsm printed examples; it is not personalised with your artwork.
A digital artwork proof shows the proposed design, dimensions and layout for checking. It is useful for finding the wrong logo version, spelling errors or an unsuitable repeat size. An ordinary PDF viewed on a phone is not a promise of exact physical colour.
A production sample using your artwork, where available by arrangement, can answer more specific questions about the chosen paper and print combination. Confirm its cost, timing and relationship to the intended production method. A sample printed on different stock cannot establish how the final tissue will behave.
Prepare a small packing trial
Choose three representative products: your smallest pack, your most common pack and the awkward one that causes staff to improvise. Use their actual boxes, bags and closures, rather than measuring the products in isolation.
For each product, note the proposed tissue size, weight, number of sheets and wrapping method. Keep the packing method the same while comparing papers. Otherwise a neater fold can be mistaken for a better material.
Use spare paper cut to the proposed dimensions if the sample sheet has a different size. This is a fit test only. It will not reproduce tissue's softness, print appearance or handling.
Test the sheet in the finished pack
Check these points during normal packing, without making the wrap artificially perfect for a photograph:
- Does the sheet cover the product with enough overlap to close cleanly?
- Do tucked corners create bulky lumps or stop the box lid closing?
- Can staff separate sheets and make the fold without repeated tearing?
- Is the visible printed area sufficient when the customer opens the pack?
- Does a sticker lift or tear the tissue in an undesirable way?
- Is any extra sheet serving a clear purpose?
Try the pack again after normal handling. For direct product contact, assess the proposed printed stock against your actual surface under expected conditions. An informal trial can flag scuffing or transfer; it does not certify suitability for every material or long-term storage. Raise specialist requirements before ordering.
Review the proof in three passes
First pass: identity and specification
Check the business name, logo version and every letter of any secondary wording. Then compare the stated sheet size, paper colour, weight, print colours and quantity against the order. Mark a discrepancy explicitly rather than assuming the printer will resolve it later.
Second pass: scale and repetition
Look at the logo at its intended physical size. If you print a paper layout, use actual-size output and measure a known dimension to check that the printer has not scaled it to fit.
Fold that layout around the sample product. A repeating logo does not need every mark to remain whole at a cut edge, but recognisable marks should remain visible in the opening view. Our repeat logo pattern guide explains layout choices in more detail.
Third pass: colour and technical questions
Confirm whether a named brand colour is a target for discussion or a specified spot ink. Ask which limitations apply to the paper and process. Compare any agreed physical references under consistent lighting.
Designers using Acrobat Pro can use Adobe's Output Preview tools to inspect colour separations and other print settings. These checks help diagnose a file; they do not replace agreement on the physical print result. See our printing methods guide for the choices available.
Make approval unambiguous
Keep one named person responsible for the final decision. A useful approval record includes the order reference, proof filename, revision number, date and any agreed specification notes.
If a change is needed, request a revised proof before approval. Avoid messages such as “approved, but please enlarge the logo” because they leave the final layout unchecked. Retain the approved file alongside the order confirmation for the next run.
Big Tissue's usual turnaround is around seven working days after proof approval, subject to the confirmed order. Allow time for checking and revisions before committing to a launch date.
Common sample and proof questions
Will the sample pack show my own logo?
No. The standard pack contains existing printed examples. Ask about a separate custom sample if checking your specific artwork on the selected paper is essential.
Can a digital proof confirm exact colour?
It can communicate the design and colour specification. Screen settings, lighting and the physical paper affect appearance, so discuss physical proofing when colour is critical.
Should I approve the flat sheet or the wrapped product?
Check both. The flat view reveals artwork errors; the folded view reveals whether the design works in use. Once you have recorded both checks, send your specification for a quote.