Custom Printed Tissue Paper for Design Agencies
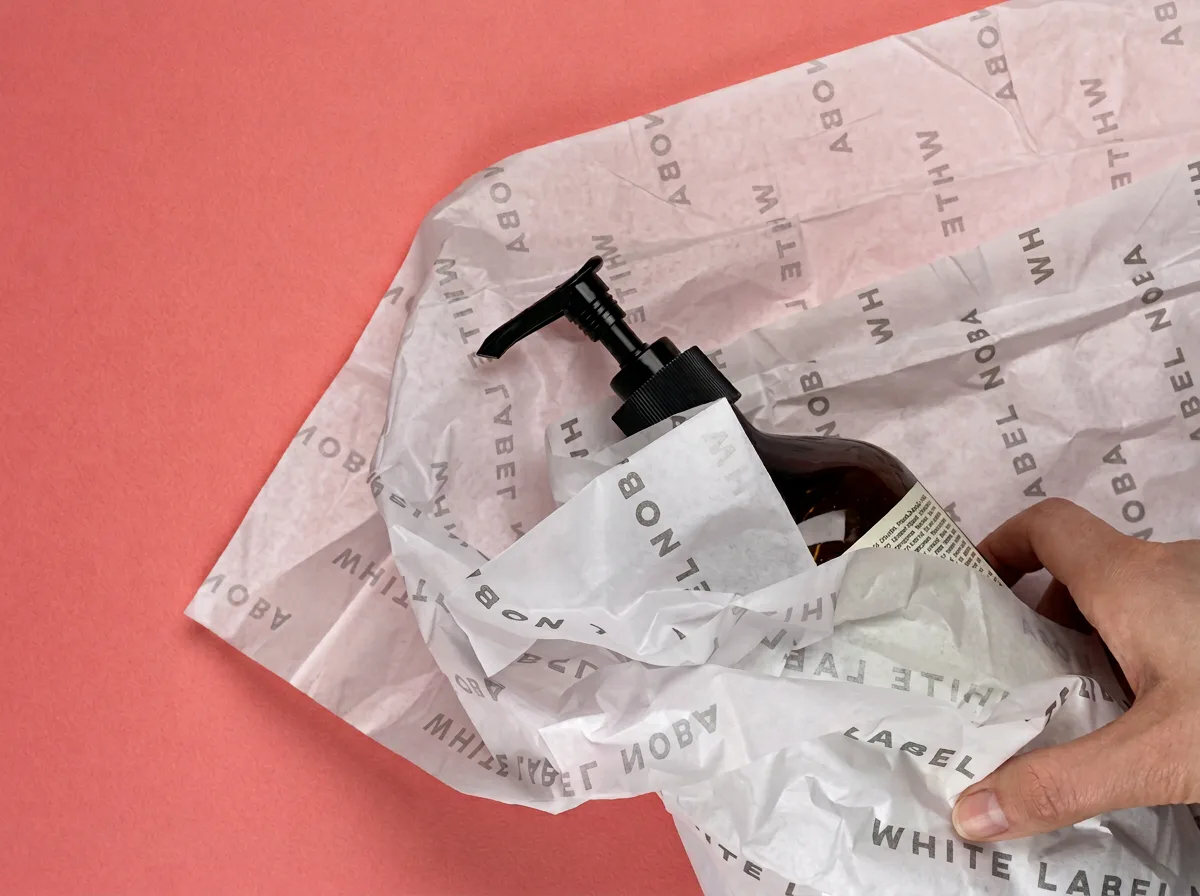
For a design agency, custom printed tissue paper is often one element of a larger identity project. The client approves a packaging concept, the designer develops the artwork, and another team orders the physical sheets. Problems arise when those handovers omit a size, colour expectation or delivery instruction.
Treat branded tissue as a production specification as well as a visual asset. The workflow below keeps the client, designer and printer working from the same information, from the first mock-up through to a repeat order.
Start with the client's packing operation
Ask to see a real order being packed. A boutique wrapping at the till, an ecommerce warehouse and a brand sending wholesale gift sets may all need different sheet sizes while sharing one identity.
Record the products, inner packaging dimensions and the moment when the tissue becomes visible. Note whether staff wrap individual items, line the box or add a top sheet. A beautiful flat-sheet mock-up cannot tell you whether the logo survives the final fold.
Identify the people who will approve the design and use the paper. A short packing trial with store staff can resolve practical issues before the client signs off the artwork.
Write one brief with two parts
The production specification should contain:
- Finished sheet dimensions and preferred weight.
- Paper colour, print method and brand colour references.
- Quantity per artwork version and any cutting requirements.
- Intended product contact and any special material requirements.
- Delivery location, required arrival date and packing instructions.
The brand specification should contain:
- The approved logo file and version.
- Permitted colour variations and minimum clear space.
- Preferred repeat direction and approximate logo size.
- Secondary wording, if any, written out for checking.
- The name of the final client approver.
Separate confirmed decisions from preferences that still need pricing. For example, “white 17gsm, one logo colour, 500 × 700mm” is a clear quotation brief. “Something luxurious in our brand colours” requires further decisions before suppliers can quote comparably.
Present concepts that can be produced
Use a repeating logo or brand motif to connect the tissue with the client's boxes and carrier bags. Avoid assuming that the same colour will look identical on coated board and translucent tissue. Explain that difference during the concept presentation, before the client forms an expectation from a screen render.
Big Tissue's builder offers white tissue in 17gsm and 30gsm, with CMYK available on both. Bring coloured stock, specialist finishes or other requirements into the quotation discussion instead of treating a mock-up as confirmation of availability. The colour guide and print guide provide a useful starting point.
For logo layouts, show one flat view and one realistic folded view. Make any visual mock-up clearly illustrative; a staged brand example should not imply that a particular company is a customer or that a finish has already been approved for production.
Keep client approval separate from file preparation
The client should approve identity, wording and the intended appearance. The printer should confirm the production requirements. The agency then needs to reconcile both in the final proof.
Use a versioned filename such as “ClientName_Tissue_500x700_v03”. Archive superseded files so an old attachment cannot accidentally become the production master. Ask the client to approve the exact proof version, and request a new proof whenever the design changes.
For a fuller checking routine, use the tissue sample and proof checklist. Allow for revisions in the project schedule: the usual Big Tissue turnaround is around seven working days after proof approval, subject to the confirmed specification.
Agree white-label delivery details in writing
Big Tissue offers unbranded delivery for agency work. Confirm the requirements for the specific order before dispatch, including the delivery contact, carton labelling and what paperwork should travel with the goods.
Keep the invoicing contact separate from the receiving contact where necessary. If the client has multiple stores or uses a fulfilment partner, ask about the costs and feasibility of splitting the shipment. Do not assume one delivery price covers several addresses or that a third-party warehouse accepts an unannounced delivery.
Give the receiving team enough information to identify the stock: client name, order reference, quantity, sheet size and design version. White-label presentation should still leave a clear trail for checking the delivery.
Make the next order easier
At project handover, retain the approved artwork, final specification, supplier order reference and one labelled sample from the delivered run. Record which parts of the packaging the tissue was tested with.
Tell the client who owns the reorder decision. If the agency will manage future supply, agree how stock usage and artwork changes reach that person. If the client will reorder directly, provide a clear specification so “the same tissue again” does not depend on someone's memory.
Questions agencies often ask
Can several clients share one minimum order?
Do not assume so. Different client artwork creates separate production requirements. Big Tissue's online minimum starts at 250 sheets; ask for quantities and pricing per design when briefing multiple versions.
Can we quote the client before the artwork is finished?
You can request a provisional price using a defined specification and representative artwork. State which assumptions need confirmation before treating it as a final production price.
What should we send first?
Send the product use, proposed dimensions, quantity, logo file and deadline. Add delivery instructions and colour references if known. Request an agency tissue paper quote with these details to move from concept to an orderable specification.