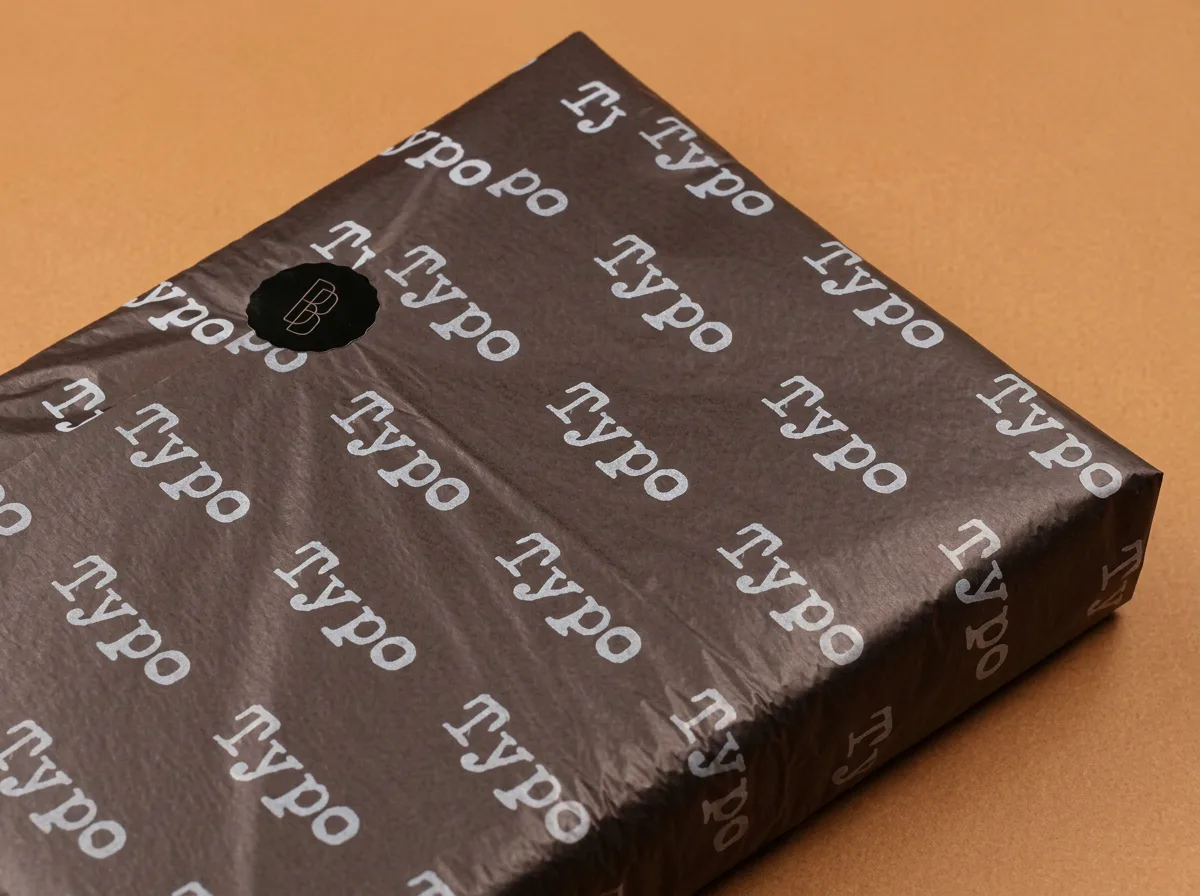
Choose the right packing method
| Application | Starting method | Check before ordering |
|---|---|---|
| Clothing and soft accessories | Wrap a folded item or place sheets between layers | Fit, show-through and snagging on fastenings |
| Subscription and ecommerce boxes | Line the box and fold over the contents | Box depth, logo visibility and lid clearance |
| Jewellery in a box or pouch | Use a small liner or wrap the protective container | Avoid bulky corners; tissue is not an anti-tarnish specification |
| Candles, ceramics and glass | Add a presentation layer around suitable protection | Cushioning and product movement during transit |
| Retail gift bags | Use a wrap plus an optional decorative top sheet | Bag size, handles and whether the product remains supported |
| Food and hospitality | Specify suitable food-contact paper separately | Food type, grease, moisture, temperature and contact time |
Start by comparing 17gsm and 30gsm in the same pack. Use 17gsm as a light wrapping trial; compare 30gsm for a more substantial feel. For food applications, ask about greaseproof requirements rather than selecting standard tissue by weight alone.
How to wrap a product with tissue paper
- Prepare the item. Fold the garment or place the product in its protective container. Cover sharp corners or fastenings where needed.
- Position the sheet. Use the orientation that leaves your intended printed surface visible on the completed wrap. Check the logo direction before folding.
- Place the product centrally. Leave enough at both ends to tuck closed, with a little slack around corners.
- Bring the long sides over. Fold one side across the product and overlap the other. Avoid pulling the sheet tight.
- Tuck the ends. Fold the loose sides inward and bring the end flaps over neatly. Smooth gently rather than pressing hard creases into delicate paper.
- Close and place in the outer pack. If using a seal or sticker, apply only what is needed and keep it off the product itself.
Try this with scrap paper first. The product-wrap calculation gives a starting sheet size. If the tissue tears, first check whether it is too small or pulled too tightly before switching to a heavier weight.
How to line a box with a fold-over reveal
Measure the box internally, including its depth. Choose a sheet that covers the base, rises up the two folding sides and overlaps over the contents. Our worked box-liner example shows how to calculate the starting dimensions.
- Lay the tissue across the empty box and gently form it into the base corners.
- Keep the two flaps accessible over the sides while adding the contents.
- Add any product-specific protection and check that the contents do not move excessively.
- Fold the first flap over, then the second, positioning a complete logo in the visible area where practical.
- Close the lid without forcing it. Open it again to check that paper has not caught in the hinges or locking tabs.
A repeat pattern tolerates different product positions better than a single centrally placed logo. For several box sizes, photograph an approved example of each and keep it at the packing station.
Gift bags, decorative folds and layering
Gift-bag presentation
Place the protected product in the bag first. Gently gather a decorative tissue sheet near its centre and arrange the loose corners above the product, keeping the handles usable. The tissue should not carry the product’s weight.
Fan folds and nests
Concertina folds can make a decorative reveal; loosely gathered tissue can form a presentation nest. Both take extra time and paper, so test whether the result is worth the added packing effort. A tissue nest is not a validated substitute for protective cushioning.
Layers between items
A flat sheet can separate folded garments or boxed products. Count every separator when estimating stock. Avoid adding layers that do not serve a useful purpose, and check compatibility when the tissue touches a delicate or easily marked surface.
How many sheets should you order?
Use your expected number of packed orders, the actual number of sheets in each pack and a measured allowance for trials or damage. If different products use different quantities, calculate each group separately and add the totals.
The builder’s quantity tiers are 250, 500, 1,000, 2,000, 5,000 and 10,000 sheets. Choose a tier that fits demand and storage; a lower unit price is not a saving if the design becomes obsolete before you use the stock.
Calculate tissue cost per packed order = price per sheet × sheets used per order. Compare that alongside seals, other packaging and labour. If a neater fold removes one unnecessary sheet, its effect repeats across every order.
See the quantity planning guide for more ways to turn sales forecasts into an order quantity.
Run a packing trial before scaling up
Pack a small, representative batch that includes your smallest, largest and most awkward products. Use a simple record so the preferred presentation can be repeated by someone who did not design it.
- Record the sheet size, paper weight and sheets used for each product.
- Time the packing steps and note where staff trim, refold or struggle.
- Check whether logos disappear into folds or seals cover essential artwork.
- Look for rubbing, tearing, excessive bulk or unwanted colour transfer.
- Test the whole shipping package through appropriate handling trials for the product.
For agencies shipping directly to clients, include the agreed unbranded delivery requirement and delivery contact in the order brief. Keep your client’s final artwork approval with the specification.
Store sheets well and plan the next order
Store stock flat, dry and covered, away from direct sunlight and strong odours. Keep small working stacks at the bench and use older suitable stock first. Label each design and size so seasonal tissue does not get mixed into an everyday order.
A useful reorder trigger is average daily sheet use × total replenishment days + safety stock. Use the same kind of day for both values. If you measure demand per working day, count replenishment in working days too.
For example, at 60 sheets per working day, a planned total replenishment window of ten working days and 200 spare sheets give a trigger of 800 sheets. This is an illustrative planning window: Big Tissue’s typical production-to-delivery lead time is seven working days from artwork approval, so include your own approval time and any extra contingency.
Keep the final proof and order reference, and review stock and reorder planning before busy seasons. Give customers locally appropriate disposal guidance alongside the finished packaging.
Common questions
How many sheets do I need per order?
Count the sheets in your tested pack, including liners, wraps and separators. One sheet may be enough for a simple wrap, while a multi-item order may need more. Multiply that count by expected orders and add a realistic allowance.
Can tissue paper protect glass or candles in the post?
Tissue can add presentation and light separation, but it should not be the only protection for fragile items. Use suitable cushioning and an outer package, then test the complete pack for its delivery conditions.
Should the printed side face up or down when wrapping?
Orient the sheet so the printed surface is visible on the completed wrap. Make a quick trial because the right starting orientation depends on your fold, whether you are lining a box and how the product is placed.
How can I reduce tissue waste?
Measure the sheet to fit, avoid unnecessary layers, keep usable stock dry and covered, and use designs that will stay relevant. Test changes against the finished presentation and protection before applying them to every order.
Continue planning your packaging
Work out your sheet size
Formulas and mock-up checks for liners and complete wraps.
Choose your paper weight
Compare light wrapping with a more substantial feel.
More wrapping guidance
Explore product-specific packing considerations.
Plan reuse and disposal
Help customers handle the tissue after unwrapping.