Choosing Tissue Paper Size for Products and Boxes
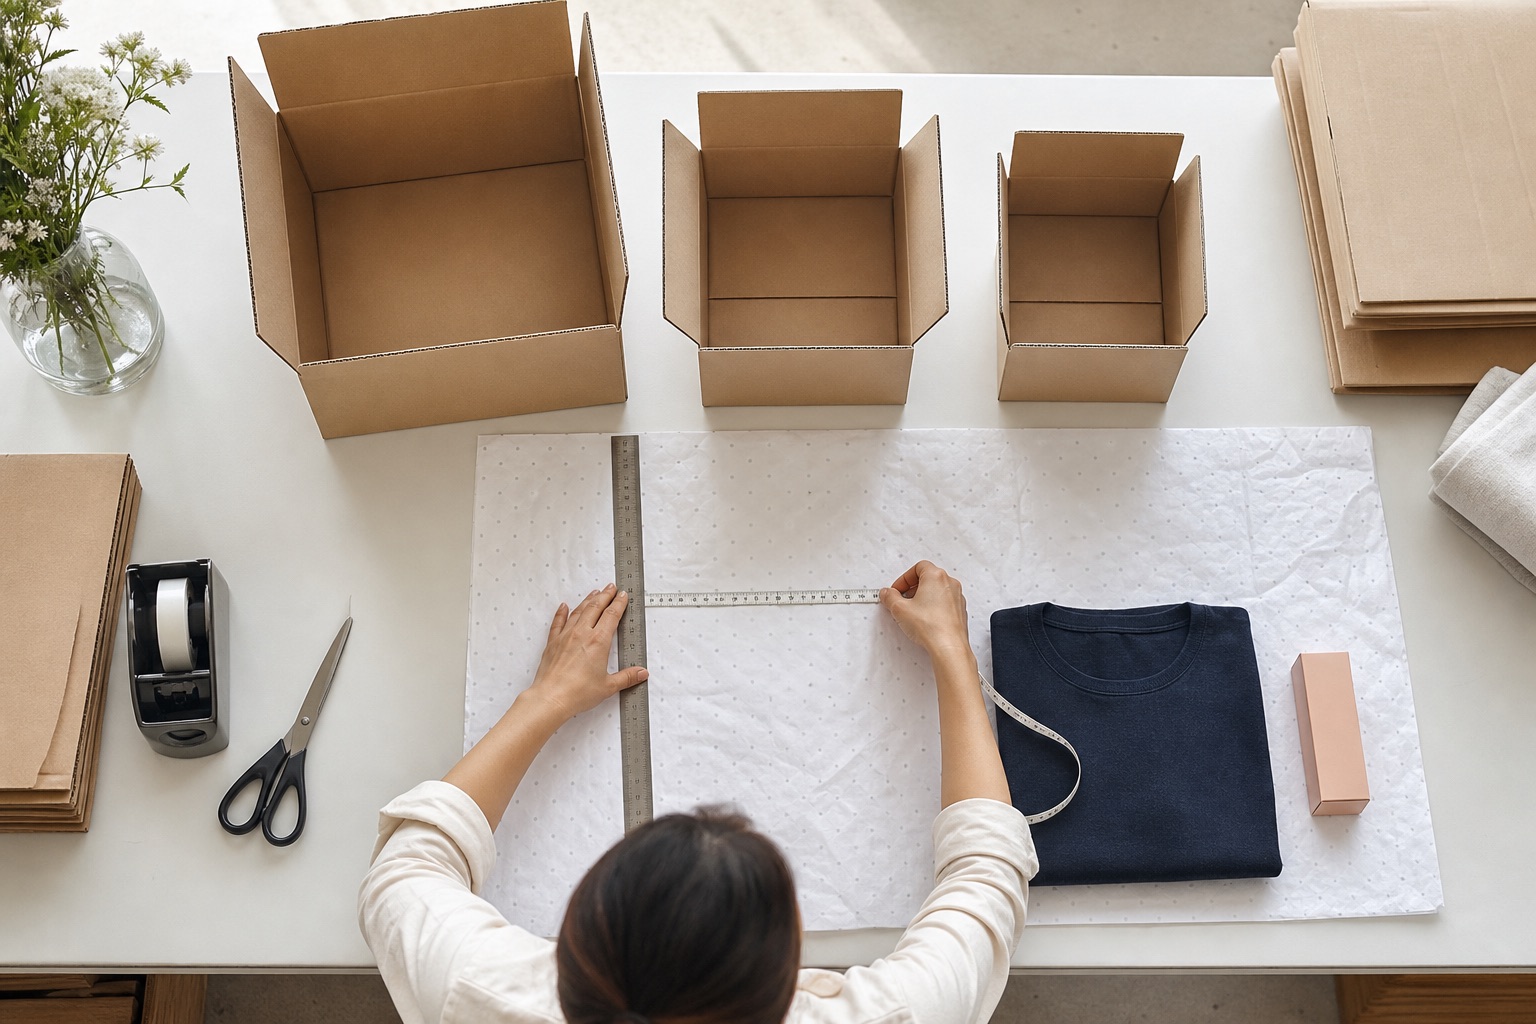
The best tissue paper size is not the largest sheet that fits your budget. It is the smallest practical sheet that creates the wrap, liner or presentation style you want without awkward gaps, excessive bunching or routine cutting at the packing bench.
Choosing well improves three things at once:
- The finished parcel looks more consistent.
- Staff pack faster.
- Fewer sheets and offcuts are wasted.
The correct size depends on the product dimensions, the box, how much overlap the fold needs and whether the tissue wraps the item or only lines the packaging. This guide gives you a repeatable way to measure it.
Start with the job, not the sheet
Before measuring anything, decide how the tissue will be used.
Full product wrap
The sheet goes around the product and overlaps enough to close neatly. This is common for clothing, books, boxed cosmetics and gift items.
Box liner
The tissue sits inside the box, extends up the sides and folds over the product. The box dimensions matter more than the product alone.
Top sheet
A folded or flat sheet covers the product beneath the lid. It provides presentation but does not fully enclose the item.
Interleaving
Sheets separate products or surfaces—for example between garments, prints or retail items. The paper may only need to match the footprint.
Gathered presentation
The sheet is loosely gathered around a small product or protrudes from a bag. Extra material is intentional, but too much looks bulky and consumes stock quickly.
One business may use several methods. Define the method for each product category before standardising a size.
Measure the real packed product
Use the dimensions of the product as it will actually be wrapped.
A T-shirt folded for dispatch is smaller than the same garment laid flat. A candle inside its retail carton is larger than the jar. A jewellery pouch may contain a necklace card that determines its final width.
Record:
- Length.
- Width.
- Height or thickness.
- Any fragile projections.
- Whether several items are packed together.
Measure in millimetres and keep the same orientation throughout your test. “Approximately medium” is not useful when comparing sheet sizes.
A simple formula for a rectangular product wrap
For an envelope-style wrap around a rectangular product, estimate:
Required sheet width = product width + twice the product height + side overlap
Required sheet length = product length + twice the product height + closing overlap
The overlaps depend on the look and paper:
- A small item may need 40–60mm at the sides.
- A medium garment may need 70–120mm.
- A bulky or irregular item may need more.
This formula gives a starting point, not a guaranteed cutting size. Tissue is flexible, products compress and different folds consume paper differently. Always make a physical test.
Worked example: folded knitwear
Packed product dimensions:
- 330mm long.
- 250mm wide.
- 45mm high.
Allow 80mm side overlap and 100mm closing overlap:
Width: 250 + 90 + 80 = 420mm
Length: 330 + 90 + 100 = 520mm
A sheet around 450 × 600mm should be tested. A 500 × 700mm sheet will also work but creates more overlap and material use.
Measuring for a box liner
For a simple liner that covers the base and rises up the sides:
Minimum liner width = internal box width + twice the internal box depth
Minimum liner length = internal box length + twice the internal box depth
Add extra material if both sides need to fold over the product.
Suppose a mailer box has internal dimensions:
- 300mm long.
- 220mm wide.
- 80mm deep.
The minimum base-and-sides coverage is:
Width: 220 + 160 = 380mm
Length: 300 + 160 = 460mm
A 380 × 500mm sheet is a sensible test. If you want generous flaps that cross over the product, test a larger width or rotate a 500 × 500mm sheet.
Internal dimensions matter. External box measurements include board thickness and do not describe the usable space accurately.
Allow for the direction of the pattern
A repeating logo may look acceptable in any orientation. A directional pattern or large centred design may not.
Check:
- Which edge becomes the visible top fold.
- Whether logos appear upside down after wrapping.
- Whether the pattern is hidden under the product.
- Where the closing sticker sits.
- Whether cutting the sheet changes the intended repeat.
If flexibility matters, use a small non-directional repeat. It lets staff rotate the sheet to suit different products and reduces the need for multiple versions.
Our repeat logo pattern guide explains spacing, scale and rotation.
Standard tissue paper size examples
Big Tissue's online builder currently offers:
- 220 × 300mm.
- 380 × 380mm.
- 380 × 500mm.
- 500 × 500mm.
- 500 × 700mm.
- 600 × 900mm.
- 700 × 1000mm.
Availability and pricing can change, so check the live builder before making a final decision.
The sizes are options, not product rules. A 380 × 500mm sheet might wrap a folded blouse, line a cosmetics mailer or be cut for two jewellery orders depending on the packing method.
Recommended starting points by product
Jewellery and small accessories
Start by testing 220 × 300mm for ring boxes, small pouches, pins and earrings. For larger necklace cards, multiple boxes or a more generous presentation, test 380 × 380mm.
Avoid swallowing a small jewellery box in a 500 × 700mm sheet. The bundle becomes bulky and the logo repeat can disappear into folds.
See our jewellery tissue packaging guide for acid-free and transit considerations.
Cosmetics and skincare
Single small cartons may suit 220 × 300mm or 380 × 380mm. A set of bottles or jars in a mailer often needs 380 × 500mm or 500 × 500mm.
Pack the actual combination. Tall bottles create height that a flat footprint measurement misses. Tissue is a presentation and surface layer, not impact protection for glass.
Clothing
Small accessories and underwear may work with 380 × 500mm. Folded T-shirts, shirts and light knitwear commonly suit 500 × 700mm. Coats, blankets and larger garments may require 600 × 900mm or 700 × 1000mm.
Garment fold size varies enormously. Standardise the garment fold before choosing tissue; otherwise staff will change both at once and the test tells you little.
Candles, soap and handmade products
A boxed candle or a pair of soap bars may use 380 × 380mm or 380 × 500mm. Mixed gift sets usually need a box-liner calculation based on the internal box dimensions.
Keep tissue away from oily or incompletely cured surfaces unless the material has been tested for contact. Handmade products can release fragrance or oil during storage.
Read the handmade product packaging guide for a fuller packing system.
Books, stationery and prints
Small notebooks can suit 380 × 500mm. Standard books and presentation folders often need 500 × 700mm. For art prints, tissue should be selected according to the medium and storage requirement, not simply treated as decorative wrap.
Shoes and larger retail boxes
A shoe box liner may need 500 × 700mm, depending on depth and desired fold-over. Large boots, homewares and hampers may require 600 × 900mm or more.
Large sheets cost more and are harder to handle. Confirm that one large sheet is genuinely more efficient than two planned smaller sheets.
The ten-order test
Once you have a candidate size, pack ten representative orders.
During the test, note:
- Whether the product is fully covered.
- The overlap at the final fold.
- Any tearing at corners.
- Whether staff need to trim the sheet.
- Whether the logo lands visibly.
- Sheets consumed per order.
- Average packing time.
- Whether the parcel closes without compression.
Photograph the approved result from above and from the customer's opening view. Use those images as an internal packing standard.
If the result only works when one experienced person wraps it, the process is not ready. Ask a colleague to repeat it using written instructions.
Should you cut large sheets in-house?
Buying a large sheet and cutting it can appear flexible. It has hidden costs:
- Staff time.
- Inconsistent dimensions.
- Ragged or creased edges.
- Storage for offcuts.
- Pattern alignment problems.
- Safety and equipment requirements.
In-house cutting can work for a short trial or very low volume. At regular volume, ordering the practical finished size is usually cleaner and faster.
If one large sheet produces two exact smaller sheets without waste, ask whether the supplier can cut before delivery. Confirm how cutting affects quantity, price and pattern placement.
What if you use several box sizes?
Do not automatically create a unique tissue size for every box. That increases stock complexity and makes forecasting harder.
Group packaging into families:
- Small.
- Medium.
- Large.
Find one tissue size that works well across each family. A medium sheet with a flexible repeat may cover three mailer sizes. Only introduce another tissue size when the operational or visual improvement is meaningful.
Label storage clearly so staff do not use large sheets for small orders during a rush.
Size and cost
Sheet area affects material use and price. In the current Big Tissue builder, sizes up to 500 × 700mm use the base price ladder. The 600 × 900mm and 700 × 1000mm options have higher multipliers because they use substantially more paper.
This pricing structure means a smaller size does not always reduce the quoted total within the base group. It can still reduce:
- Sheets used per parcel.
- Cutting labour.
- Storage volume.
- Packing time.
- Waste seen by the customer.
Price the finished process, not only the stack of paper.
Use the custom tissue paper price guide for current worked examples.
Size and paper weight
Two sheets with the same dimensions can behave differently if their weights differ.
Light tissue:
- Drapes and gathers easily.
- Creates softer folds.
- Shows more of the product through it.
- Can be layered without excessive bulk.
Heavier tissue:
- Holds a crisp fold more strongly.
- Adds opacity and body.
- Needs a little more allowance around bulky products.
- Can create pressure under a tight box lid.
Test size and weight together. Do not approve dimensions using copier paper; it does not fold like tissue.
Common sizing mistakes
Measuring the box exterior
Use internal dimensions for liners. External measurements overstate the available space.
Ignoring product height
Flat length and width do not account for the paper travelling over the sides.
Choosing by industry alone
Two clothing brands can fold the same garment differently. Product-specific testing beats a generic chart.
Maximising visible tissue
More material does not always feel more premium. Controlled folds usually look better than a mass of crushed paper.
Forgetting the closing method
A sticker needs an overlap beneath it. A tucked fold needs enough paper to hold without tearing.
Printing before testing blank sheets
Use blank tissue to confirm size and process first. Artwork cannot rescue a poor fit.
Using tissue as void fill
Tissue can create presentation and light separation. It should not be sized as the sole solution for a heavy product moving inside an oversized transit box.
A simple approval checklist
Before placing the order, confirm:
- The packed product—not the unboxed product—was measured.
- Internal box dimensions were used.
- Product height was included.
- A real tissue sample was folded.
- The final overlap is sufficient.
- The pattern orientation works.
- The box closes without crushing the product.
- Ten trial orders were packed.
- Sheet use per order was recorded.
- The size works for the expected product mix.
Then use the result in your quantity calculation. Our guide to how many tissue sheets a business needs includes the formula and safety-stock allowance.
Frequently asked questions
What is the most common tissue paper size?
500 × 700mm is a widely useful general size for retail and ecommerce, particularly clothing and medium parcels. It is not automatically right for small boxes or very large products.
What size tissue should I use for a jewellery box?
Start with 220 × 300mm and test the actual box or pouch. Move to 380 × 380mm for larger sets or a more generous fold.
How much overlap should tissue paper have?
Enough to cover the product and hold the chosen closing fold without tension. Small products may need 40–60mm; medium products often need more. Test because thickness and wrapping style change the requirement.
Can I use one size for every order?
Some businesses can. Others benefit from small, medium and large tissue families. Avoid creating many sizes unless the packing benefit justifies the extra stock.
Should tissue match the box dimensions?
Not exactly. A liner must cover the base, travel up the sides and often fold over the product. A wrap must travel around product height and overlap.
The practical recommendation
Define the wrapping method, measure the product in its packed form, calculate a starting sheet size and then test it with real tissue across ten orders. Choose the smallest size that produces a secure, repeatable and attractive result.
When you have the measurements, compare sizes and see the live price or send us your box dimensions for advice.